


Tools you will need
Bucket
Paint roller
Plastic roller
Pencil
Sponge
Trowel
Brush
Clerical knife
Level
Preparing the wall
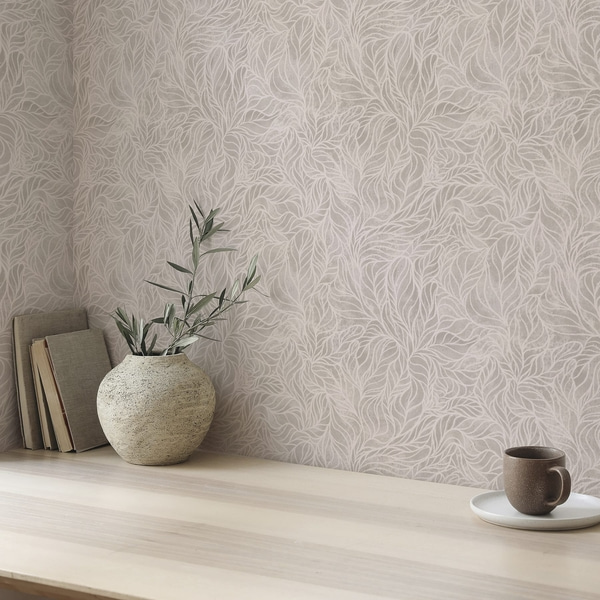
Wallpapering
